I’m on a bit of a tear with cardamom and sweet orange essential oils.
For one thing, cardamom and sweet orange essential oils smell incredible together.
For another thing, I accidentally have too much of each. What to do?
Indulge some aromatic beeswax candles!
Honestly, I’m at the point where I feel both beeswax and essential oils are too precious for copious candle making. To wit, I typically only make candles for ritual purposes–and I only use essential oils in them when I have essential oils that are moving out of scope for topical use due to exposure, oxidization, age, etc.
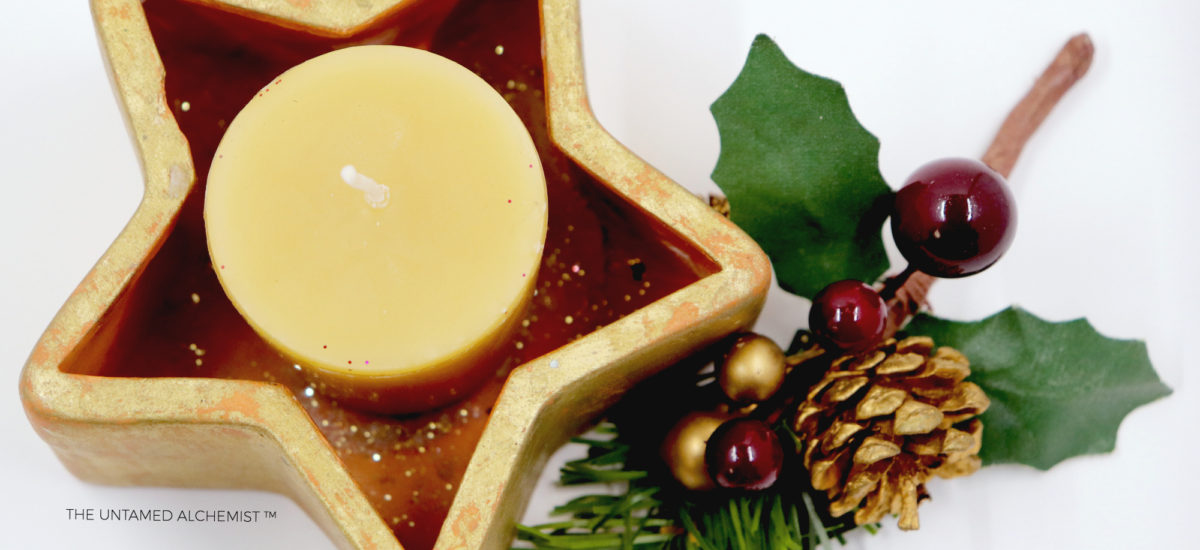
This batch of candles–six tall votives and one 4-oz canning jar’s worth–ARE for a special purpose: they will serve as the lights for our outdoor Winter Solstice ritual soon.
Conveniently, both cardamom and sweet orange align beautifully with our Yule intentions.
As I’ve shared before, cardamom has wonderful properties.
For Yule, we’ll be leveraging a select few in particular…
Sweet orange is radiant, optimistic, and uniquely aligned with the sun–perfect for celebrating the turn of the Wheel and the return of longer days…

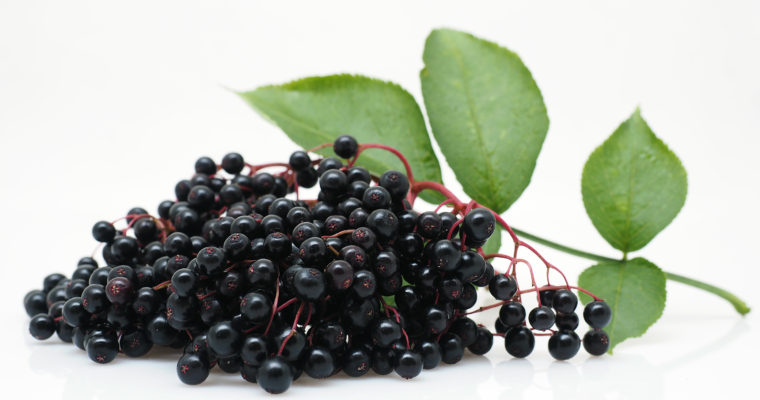
Together with sweet, pure, unrefined beeswax, cardamom and sweet orange make special Yule candles to light the longest night of the year with warmth, joy, and bright blessings.
(Psssst… check the helpful hints below the recipe for some great information before you get started!)
Beeswax Candles with Cardamom & Sweet Orange
Beautiful Yule candles made with fragrant unrefined beeswax, spicy cardamom, and sweet orange. This recipe will make twelve standard votives or four 4-oz canning jar candles.

Ingredients
- 16 ounces unrefined organic beeswax
- 2T plus organic, unrefined jojoba
- 10mls cardamom (Ellettaria cardamomum) essential oil
- 5mls sweet orange (Citrus sinensis) essential oil
- Also needed: paper towels, candle molds or tempered glass (canning) jars, cookie sheet covered in foil, bamboo skewer or glass stir rod, organic candle wicks
- Handy to have: wick stickers, wick bars
Directions
- Step 1 Wipe your melting pot with a small amount of jojoba to facilitate the eventual cleaning process.
- Step 2 If your beeswax in is a large chunk, you may want to grate the beeswax to facilitate melting.
- Step 3 Place your measured beeswax in the top of a double boiler, fill the bottom of the double boiler pot with water, and set together over medium heat to melt the beeswax.
- Step 4 While the beeswax is melting, prepare your candle molds. If using candle molds, spray with candle mold release spray or wipe with a small amount of jojoba on a paper towel–this will help you to remove them later! (If pouring into canning jars, there’s no need to wipe the jars as the candle will remain in the jar.)
- Step 5 If using wick stickers, attach to wicks and place at the center bottom of each of your candle molds or jars. Use wick holders or a tight-tonged kitchen fork to hold the wick in the center–it will want to “scoot” when you add the hot wax.
- Step 6 Check on your melting wax throughout. Remove beeswax from heat when clear and melted through.
- Step 7 Set up your molds or canning jars on top of the foil-lined cookie sheet so that you can easily pour the hot wax into the molds/jars without mess or fuss. (You want to do this–wax on kitchen counters is no fun!)
- Step 8 Add 2T jojoba to melted beeswax and stir with skewer or glass rod to combine well.
- Step 9 Using a large graduated cylinder, measure your essential oils.
- Step 10 Add essential oils to the beeswax mixture. Stir with skewer or rod to combine well.
- Step 11 Pour immediately into prepared molds or jars reserving a little bit for, well… Pure beeswax sometimes like to crack when it cools. I always keep a little extra candle wax behind to pour on top to cover cracks if needed…
- Step 12 If using votive or other candle molds, allow the candle(s) to cool completely before removing from the mold.
- Step 13 Trim the wick, if necessary, to appropriate height. If your wick is tall or too short, it won’t burn properly.
- Step 14 Light with intention.